All About Halloumi: Cyprus’s Famous Squeaky Cheese

Written by: Irene Matys

Halloumi, known as the squeaky cheese, has become a beloved staple around the world, and for good reason. Its satisfying texture, high melting point, and unique salty tang make it one of the most versatile cheeses. But beyond its taste and texture lies a rich cultural heritage that’s deeply rooted in the island of Cyprus.

Let’s go back in time to learn more about this iconic cheese, how it’s made, how to enjoy it, and how to store it.

The Origins of Halloumi

Halloumi is a traditional Cypriot cheese, semi-hard and is made from a blend of goat’s and sheep’s milk. Unlike most cheeses, Halloumi is not made with acid-producing bacteria, but instead with non-animal rennet, a complex set of enzymes that curdles the milk. This unique process, along with its high protein content, is what gives Halloumi its signature squeak when you bite into it.

Traditionally, raw Halloumi was preserved in its own brine and wrapped with fresh mint leaves, which helped to keep it fresh and added a burst of cooling flavour. Today, Krinos, continues to preserve it in its own brine and use mint as a nod to this tradition.

On March 30, 2021, Halloumi earned Protected Designation of Origin (PDO) status from the European Union. This was a historic milestone for Cyprus. This means that only cheese made in Cyprus under specific traditional methods can be sold as Halloumi within the EU. A proud moment for the island and its people!

Taste & Texture

When made traditionally with goat and sheep’s milk, Halloumi has a tangy, briny flavour and a dense, chewy texture. Eaten raw, it’s firm and slightly rubber, perfectly refreshing in a summer breakfast alongside watermelon. But when you pan fry or grill it, magic happens: the outside turns golden and crisp, while the inside becomes soft and creamy, without ever melting.

Delicious Ways to Enjoy Krinos Halloumi

Thanks to its versatility, Halloumi can be used in countless dishes—from traditional to modern. Here are just a few ideas but the ideas are endless.

Raw: Sliced and served with watermelon or in sandwiches with tomato and cucumber.

Pan-fried or Grilled: Enjoy hot with a drizzle of honey or grape syrup for a sweet twist, or with lemon and oregano for savoury.

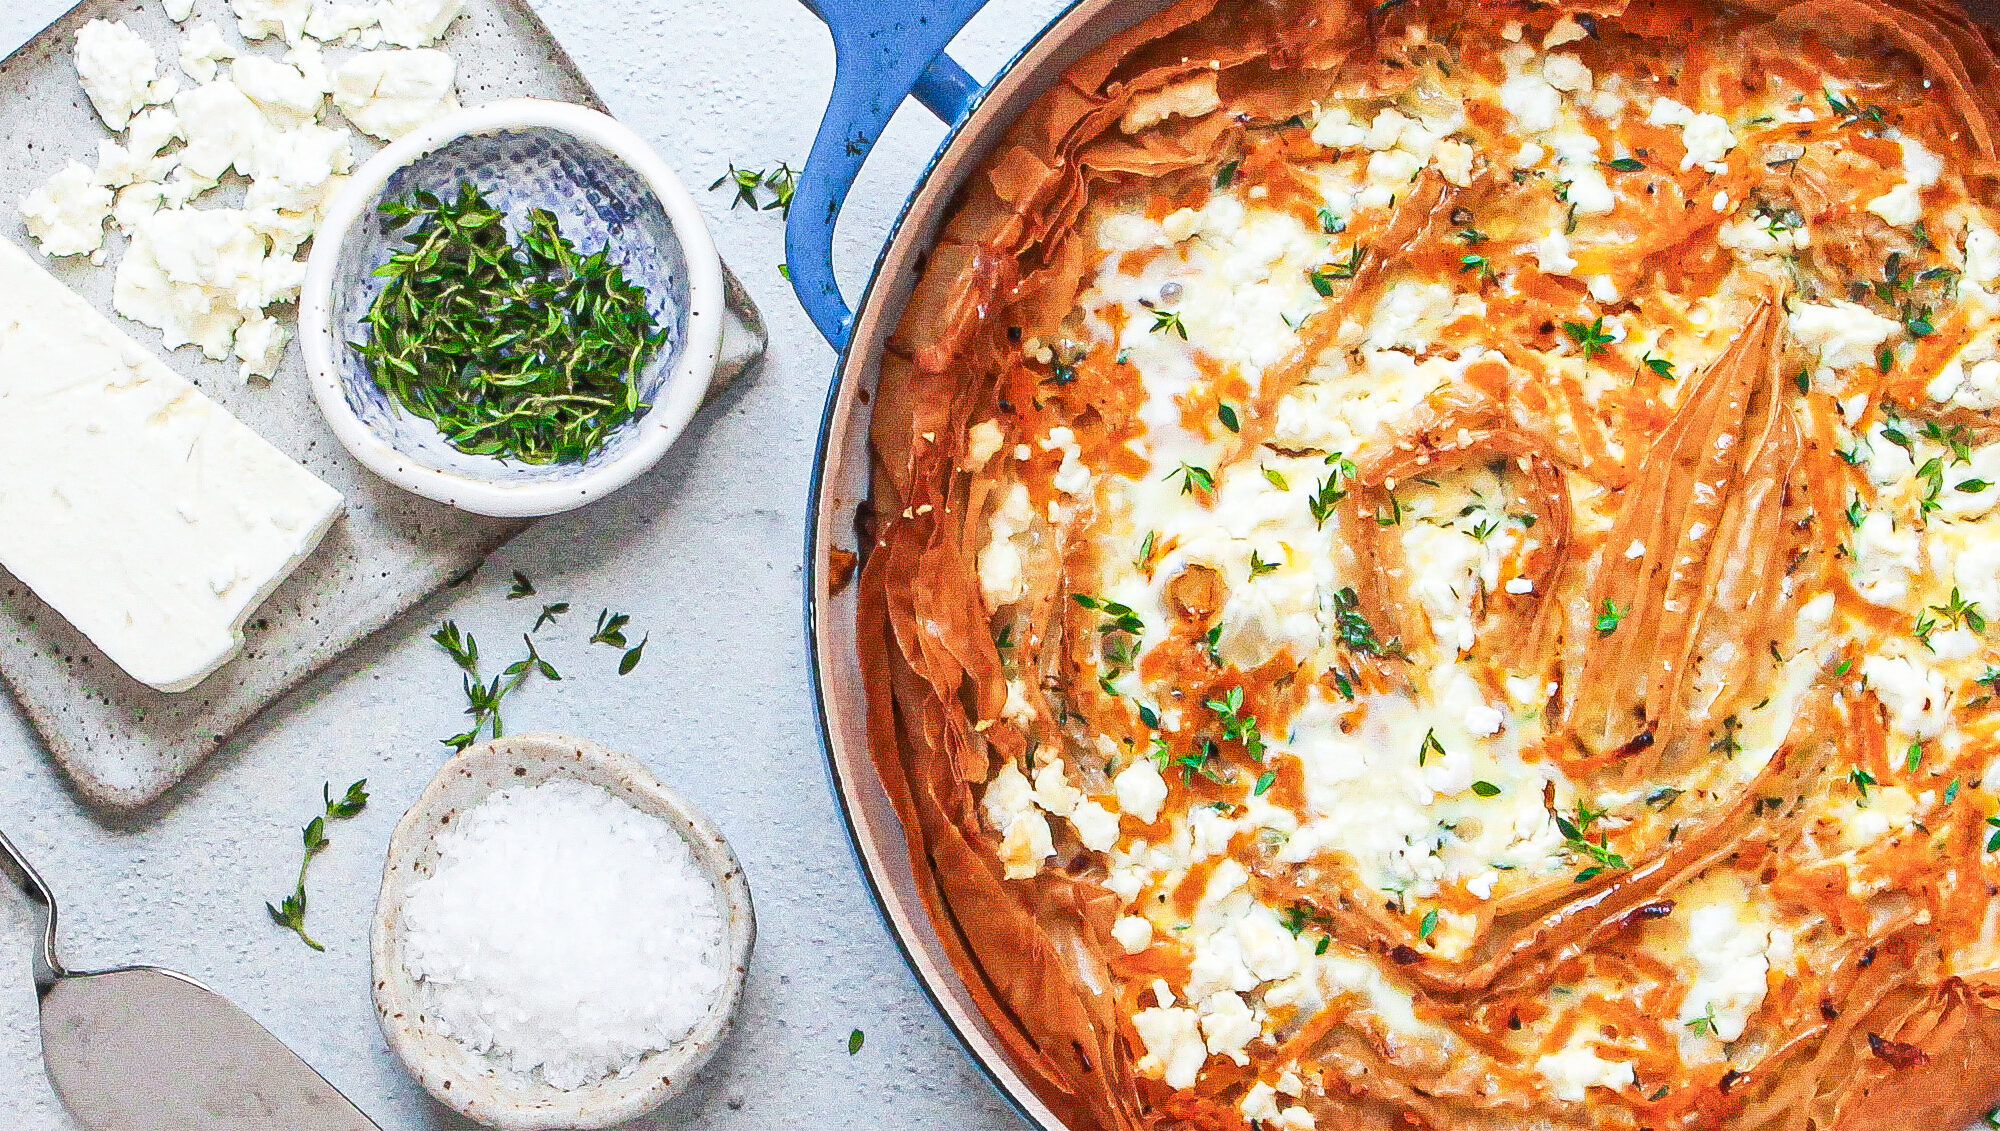
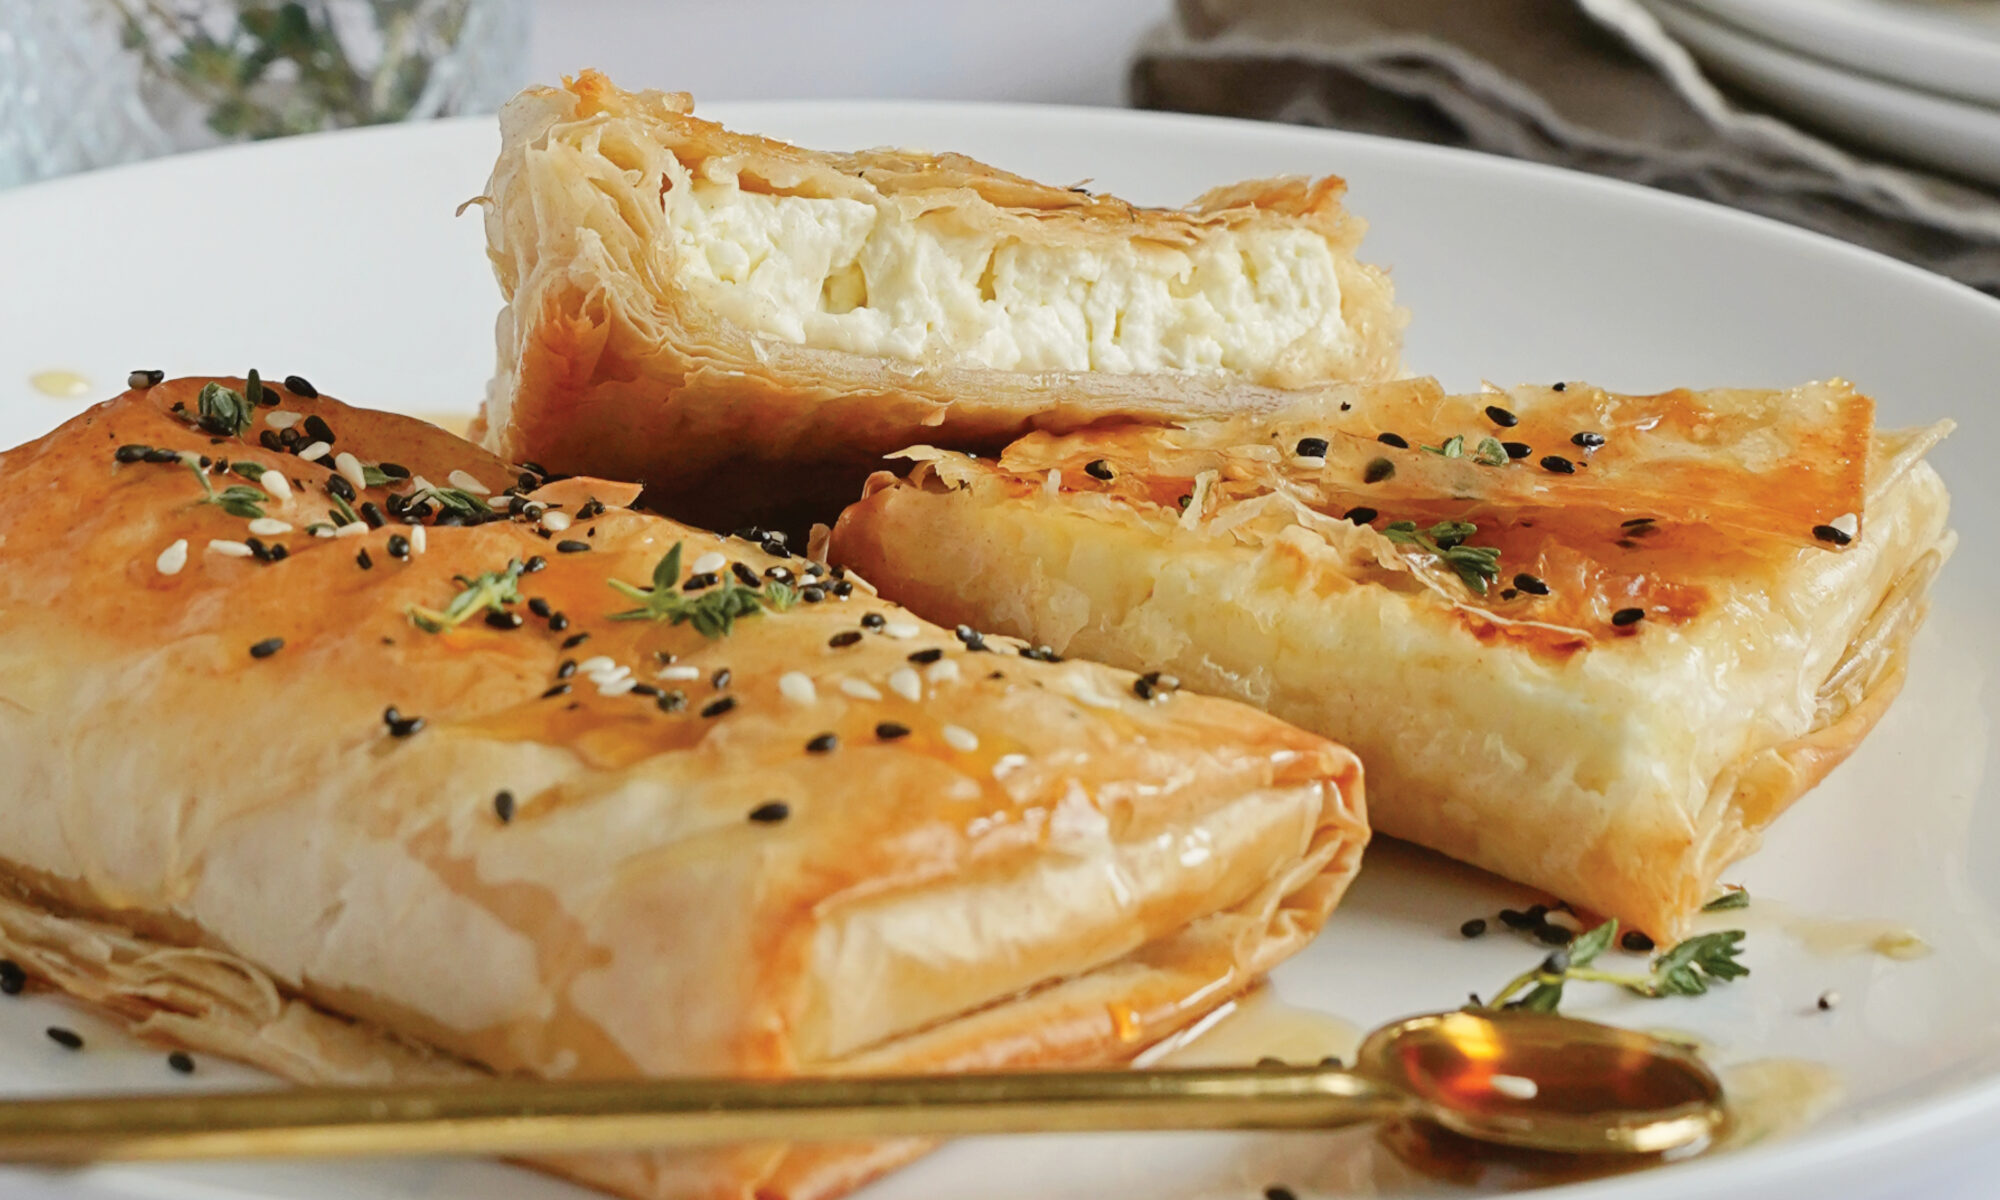
Grated: Over pasta, in omelettes, béchamel sauces, or in savoury pies and gratins.

Creative Uses: Toss it into salads, stuff it in tacos, layer it on burgers or pizza, bake it into breads, or coat it in sesame seeds or breadcrumbs and roast until golden on the outside and soft and creamy on the inside.

In Cyprus, you’ll often find it served with loukaniko or lountza (traditional Cypriot sausage and smoked pork loin) for breakfast or as part of a meze platter and even in the famous Grilled Halloumi and Lountza sandwich, accompanied by wine, cold beer, or a shot of zivania (a Cypriot spirit).


How to Store Halloumi

One of Halloumi’s hidden talents is its long shelf life when stored properly. Here’s how to keep your Krinos Halloumi fresh:

Unopened: Store in the refrigerator for up to one year.

Opened: Keep in an airtight container in the fridge for up to two weeks.

Frozen: Halloumi can be frozen for up to 6 months. To thaw, leave it overnight in the refrigerator.

Less Salty Tip: Halloumi is naturally salty due to its brine. For a milder flavour, rinse it in cold water, pat dry with a lint-free cloth, or soak it in water for an hour and pat dry before using.


How to Cook Halloumi

Pan-Fried Halloumi

Pan-frying brings out the golden crust and gooey centre we all love.

Instructions:

1.  Slice Krinos Halloumi into ¼ or ½-inch thick pieces.

2. Heat a non-stick pan over medium-high heat (no oil needed!).

3. Fry each slice for 2–3 minutes per side until golden and crisp.

4. Remove and enjoy immediately.


Grilled Halloumi

Perfect for summer barbecues or indoor grilling.

Instructions:

1. Slice into ½-inch thick pieces.

2. Preheat grill or grill pan over medium-high heat.

3. Lightly oil the grill to prevent sticking.

4. Grill Halloumi for 1–2 minutes per side, until grill marks appear and it’s slightly softened.

5. Remove and enjoy immediately.


Warm Lemony Pasta with Fresh Mint and Grated Halloumi Cheese

Serves 4


Ingredients

450 g gemelli pasta

5 1/2 cups water

2 vegetable bouillon cubes or 2 tablespoons of vegetable bouillon paste

1/2 tsp sea salt

Juice of 1 medium lemon, 1/3 cup of lemon juice

1/4 cup of fresh mint finely chopped or 3 tbsp dried mint

1 cup or more grated halloumi cheese


In a large pot, add 5 1/2 cups of water and vegetable bouillon cubes. Bring to a boil and stir to dissolve bouillon cubes. Season with salt and add in pasta.

Cook pasta for 8-10 minutes until al dente and broth has slightly thickened. Turn off heat and stir in lemon juice and mint.

Plate and top with a generous amount of grated halloumi cheese. Serve immediately while hot.


Tip

Add in leftover roast chicken for protein for an even more fulfilling meal.


Click here to find out where to buy Krinos PDO Halloumi near you 


MORE HALLOUMI RECIPES:


Squash and Feta Fillo Pie

Comforting, crunchy, buttery and salty are perfect words to describe our latest recipe! Warm up this November with our Squash and Feta Fillo Pie, featuring silky smooth butternut squash, flaky golden fillo and our premium feta cheese. Follow along for this family favourite in the making.

First off, start with thawed Krinos fillo sheets and also have a small saucepan with about 4 tbsp. of melted butter and a brush ready to go. Preheat your oven to 400°F. Gently unroll the fillo sheets onto a clean work surface and place a damp towel on top to prevent the fillo from drying out. It should be noted that fillo tends to dry out quickly so be prepared with all ingredients ready to go before you open the package to avoid this happening.

Line a 9-inch deep-dish pie plate, ceramic flan dish or similar vessel with 2 sheets of fillo stacked on top of each other. Brush with melted butter and repeat the process twice more, offsetting the fillo by a third each time and trim any overhang. You should have coverage of the bottom and sides of the dish. This should look comforting and rustic, so don’t worry about being perfect here!

On a clean work surface, arrange one remaining fillo sheet with the longest edge closest to you and pleat it accordion-style at about 1inch intervals. Repeat this with the last 2 sheets. Go back to your prepared dish and starting in the centre of it, coil one of the pleated strips from the middle of the dish outward, leaving about a half inch of space between the coiled rows. Take the next strip and start from the end of the first and continue moving outward. Repeat by taking the next strip and starting at the end of the last and you should see the coils cover the bottom of the dish by the end. Brush with remaining butter to get good coverage on the fillo and bake for 15-18 minutes or until golden and crisp. Set aside once cooked and keep your oven on. Now onto the fillings.

Coarsely grated squash is used for the filling, you can use a food processor, chopper, or box grater to achieve this, it will make it easier for the squash to become soft and luscious! In a medium skillet, combine the 1 ½ cups of grated butternut squash with ½ cup water and 1 tbsp of butter. Season with salt and pepper to taste (cayenne pepper if you like it spicy!) and simmer on low heat covered for 8-10 minutes until soft and set aside to cool.

Now onto the part that makes this super creamy and comforting! In a separate bowl, whisk together 5 eggs, 1 cup of half & half cream, ¼ tsp of ground nutmeg and 1 tbsp of chopped fresh or dried thyme, also season this mixture with salt and pepper to taste. With multiple fillings and layers it is important to season each step of the way to ensure maximum flavour throughout!

To assemble the finished pie, dollop the squash mixture between the fillo coils with a good coverage so you get squash in every bite! Then pour the egg mixture around to fill. Scatter with as much crumbled feta as you like – we like a lot! – and bake for 25 minutes or until set. When set, the egg mixture should no longer be liquid. Once baked through, let cool slightly to help filling set even further. Slice and enjoy!

This amazing Squash & Feta fillo Pie is a seasonal wonder, a comforting meal for a quick dinner but also exciting enough for entertaining. Definitely a must-try!

Click here to discover the recipe.

Quick & Delicious Dinners: Stuffed Chicken with Feta and Sundried Tomatoes

Looking for an amazing weeknight dinner that is effortless to prepare? Our Mediterranean-inspired stuffed chicken breast is packed with bold, irresistible flavour! The filling is a luxurious blend of creamy Krinos Macedonian style feta cheese, fresh spinach, cream cheese, savoury sundried tomatoes and the fresh, fragrant notes of basil. With only a few ingredients and minimal prep time, you’ll have a wholesome, mouthwatering meal on the table in under 40 minutes.

Prepare the Chicken
Begin by preparing your chicken breasts. Working with one at a time, lay each breast flat on a cutting board, smooth side up. With your hand steadying the top, use a sharp knife to create a deep pocket on the thickest side of the chicken, being careful not to slice through. Repeat for all six breasts and set them aside.

Make the Filling
Next, heat a large, oven-proof skillet over medium heat and add 2 cups of roughly chopped spinach. In about two minutes, the spinach will wilt down perfectly. Transfer the spinach to a mixing bowl and let it cool. Once cooled, stir in 4 oz softened cream cheese, ½ cup drained and chopped sundried tomatoes, 1 cup of loosely packed basil leaves, and 1 clove of finely chopped garlic. Finally, fold in 3 oz of Macedonian style Krinos feta cheese.

Stuff and Season the Chicken
Take the prepared filling and divide it evenly among the chicken pockets. Stuff each breast generously, ensuring the mixture is tucked well inside. Season the chicken with salt and pepper to taste.

Brown & Bake
Wipe out the skillet you used for the spinach, then heat 2 tbsps of Extra Virgin Olive Oil over medium-high heat. Brown the stuffed chicken breasts for three minutes on each side until golden and crispy. Once browned, transfer the skillet to a preheated oven and bake the chicken at 160°F for about 16-18 minutes, or until the internal temperature reaches 160°F.

Rest & Serve
Let the chicken rest for 10 minutes before to ensure every bite is tender and juicy.

With this stuffed chicken breast recipe, you can create a restaurant-quality meal without the hassle. It’s a quick, one-pan dish that requires minimal cleanup—perfect for weeknights when time is of the essence, but flavour is non-negotiable. Serve this with a side of simple greens or roasted vegetables, and you’ve got yourself a complete, balanced meal.

Find the full recipe at: https://krinos.ca/recipes/feta-sundried-tomato-stuffed-chicken/

Learn more about Macedonian Style Feta: https://krinos.ca/feta-culture-products/doric-macedonian-feta/

Baked Feta Fillo Parcels with Toasted Sesame & Honey Drizzle

Krinos Canada’s baked feta wrapped in fillo with honey drizzle and toasted sesame seeds is not just about a culinary experience—it’s a feast for the senses. In recent years, this dish has gained popularity beyond its Mediterranean origins and has become a beloved item on menus around the world. Its appeal lies in its simplicity, yet complex flavour profile—crispy fillo pastry enveloping warm, creamy feta, with the sweetness of honey and the earthy richness of sesame seeds.

Once out of the oven, the baked feta is drizzled generously with honey and sprinkled with toasted sesame seeds. This final touch adds a luxurious glaze and a hint of floral sweetness and nutty crunch that ties the entire dish together. This combination is a testament to the Mediterranean tradition of balancing sweet and savoury flavours.

This dish is not only a treat for the taste buds but also a versatile addition to any menu. Serve it as an elegant appetizer at a dinner party, a show-stopping dish at a holiday gathering, or even as a delightful snack for a cozy night in. Its simplicity and sophistication make it a crowd-pleaser that never fails to impress.

Whether you’re a seasoned food enthusiast or a curious culinary explorer, this delightful creation promises to leave a lasting impression. Treat yourself to a taste of Greece with every bite of this exceptional dish!

Click here for full recipe!


Authentic Greek Products & Recipes for Lent

As the season of lent unfolds, we invite you to savour the rich flavours and traditions of Greece with our handpicked selection of favourite meals and products. From hearty lenten dishes bursting with Mediterranean goodness to essential ingredients that capture the essence of Greek cuisine,  explore the vibrant tapestry of flavours that define this cherished time of year, brought to life by Krinos Canada’s commitment to quality and authenticity.


RECIPES & MEALS:

KALAMATA OLIVE DIP

HOMEMADE TARAMOSALATA

ARTICHOKES A LA POLITA

SPICED CAULIFLOWER WITH CANDIED CARROTS AND TAHINI DRESSING

PALIRIA GIGANTES

PALIRIA DOLMAS

PALIRIA LEMON CHICKPEAS WITH CARROTS AND HERBS

PALIRIA GREEK STYLE EGGPLANT

FILLO TWISTERS – POTATO & LEEK

PRODUCTS:

TARAMOSALATA

TAHINI

OLIVE MEZE

GIARDINIERA

RED ROASTED PEPPERS

HALVA